
 (for Dutch tutorial/Nederlandse werkbeschrijving: click here/hier)
I came across this fabulous idea months and months ago on the wonderful blog of Elisabeth Andrée and pinned it to my “DIY/crafts Pinterest board“. Time to open the pin and get started! Elisabeth Andrée’s tutorial links back to yet another beautiful blog, by Carolyn and gives you the “recipe” to make the paste with which the yarn ends are sort of glued together to form a bowl. On Carolyn’s blog you can see that you don’t necessarily need yarn ends, you can very well use long strands of yarn and stick to one color as well.
You’ll be perfectly fine, just following Elisabeth Andrée’s and Carolyn’s instructions, but I just want to show you how things looked here when I got started and moreover, show you the result! I’ll be pretty much bombarding this post with photos, but that way you’ll get the picture – ;) – even better!
So, I got everything I needed: yarn ends ….. 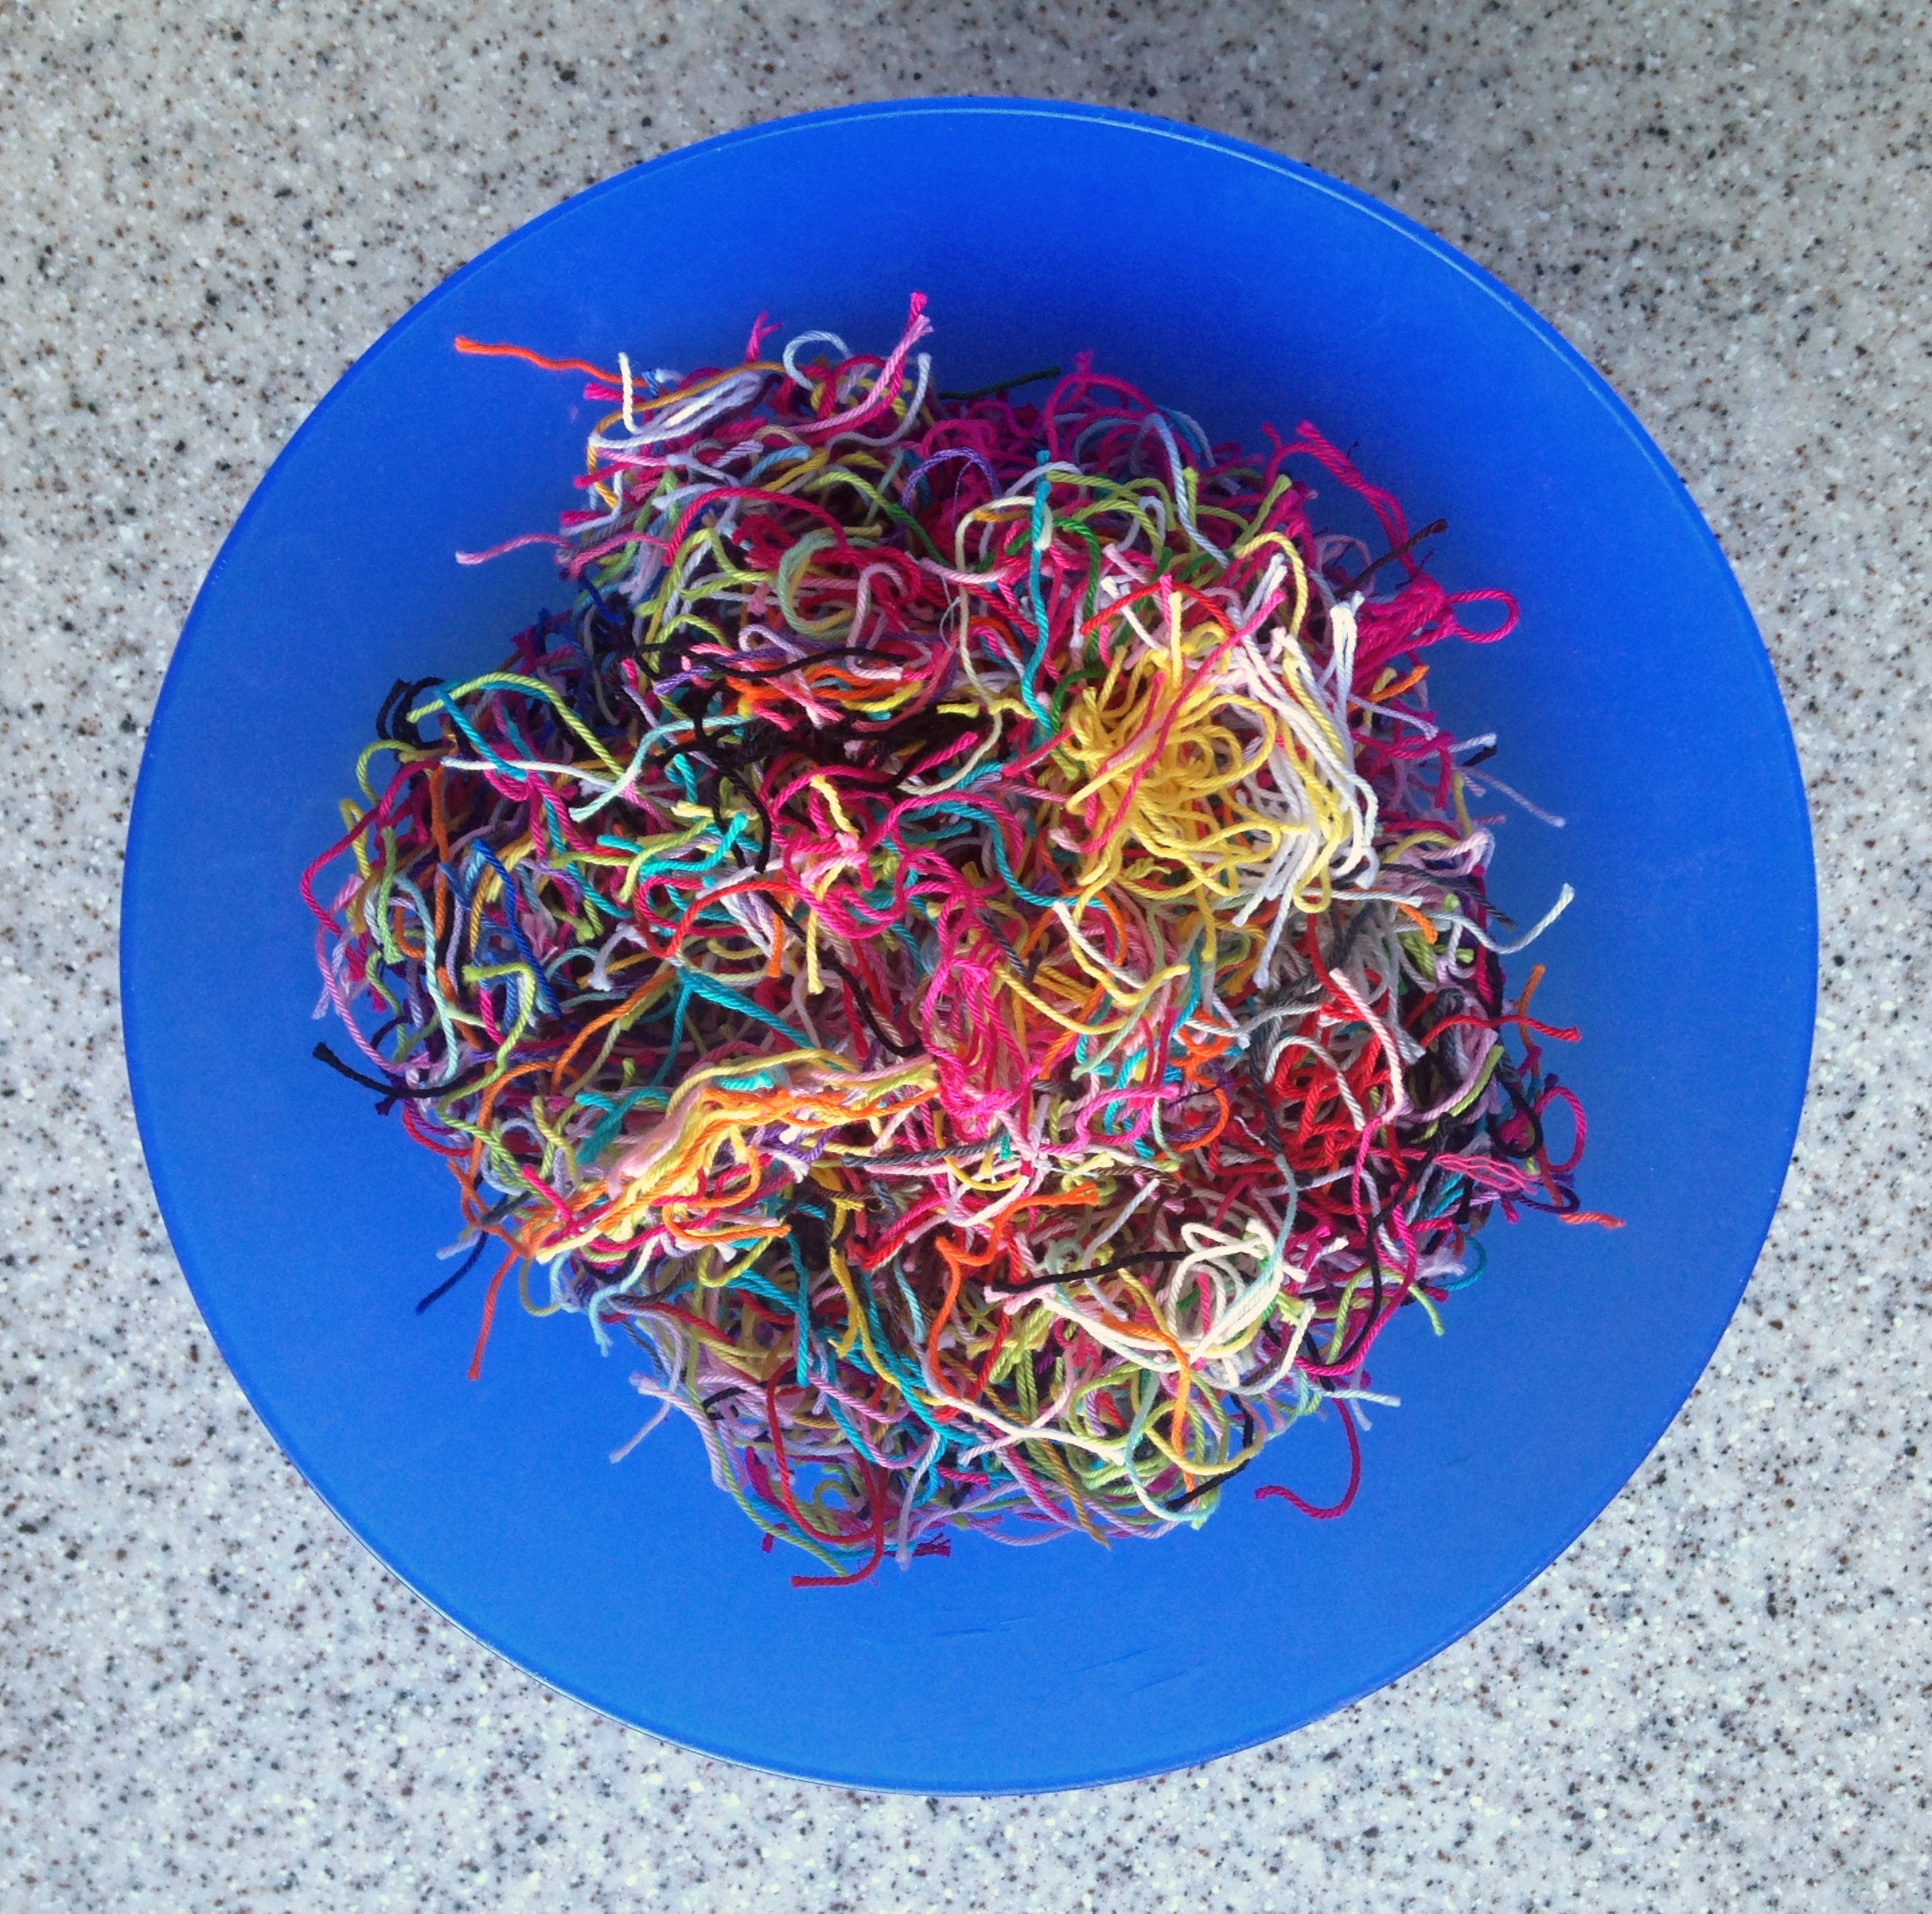


as well as the ingredients to make the paste with …..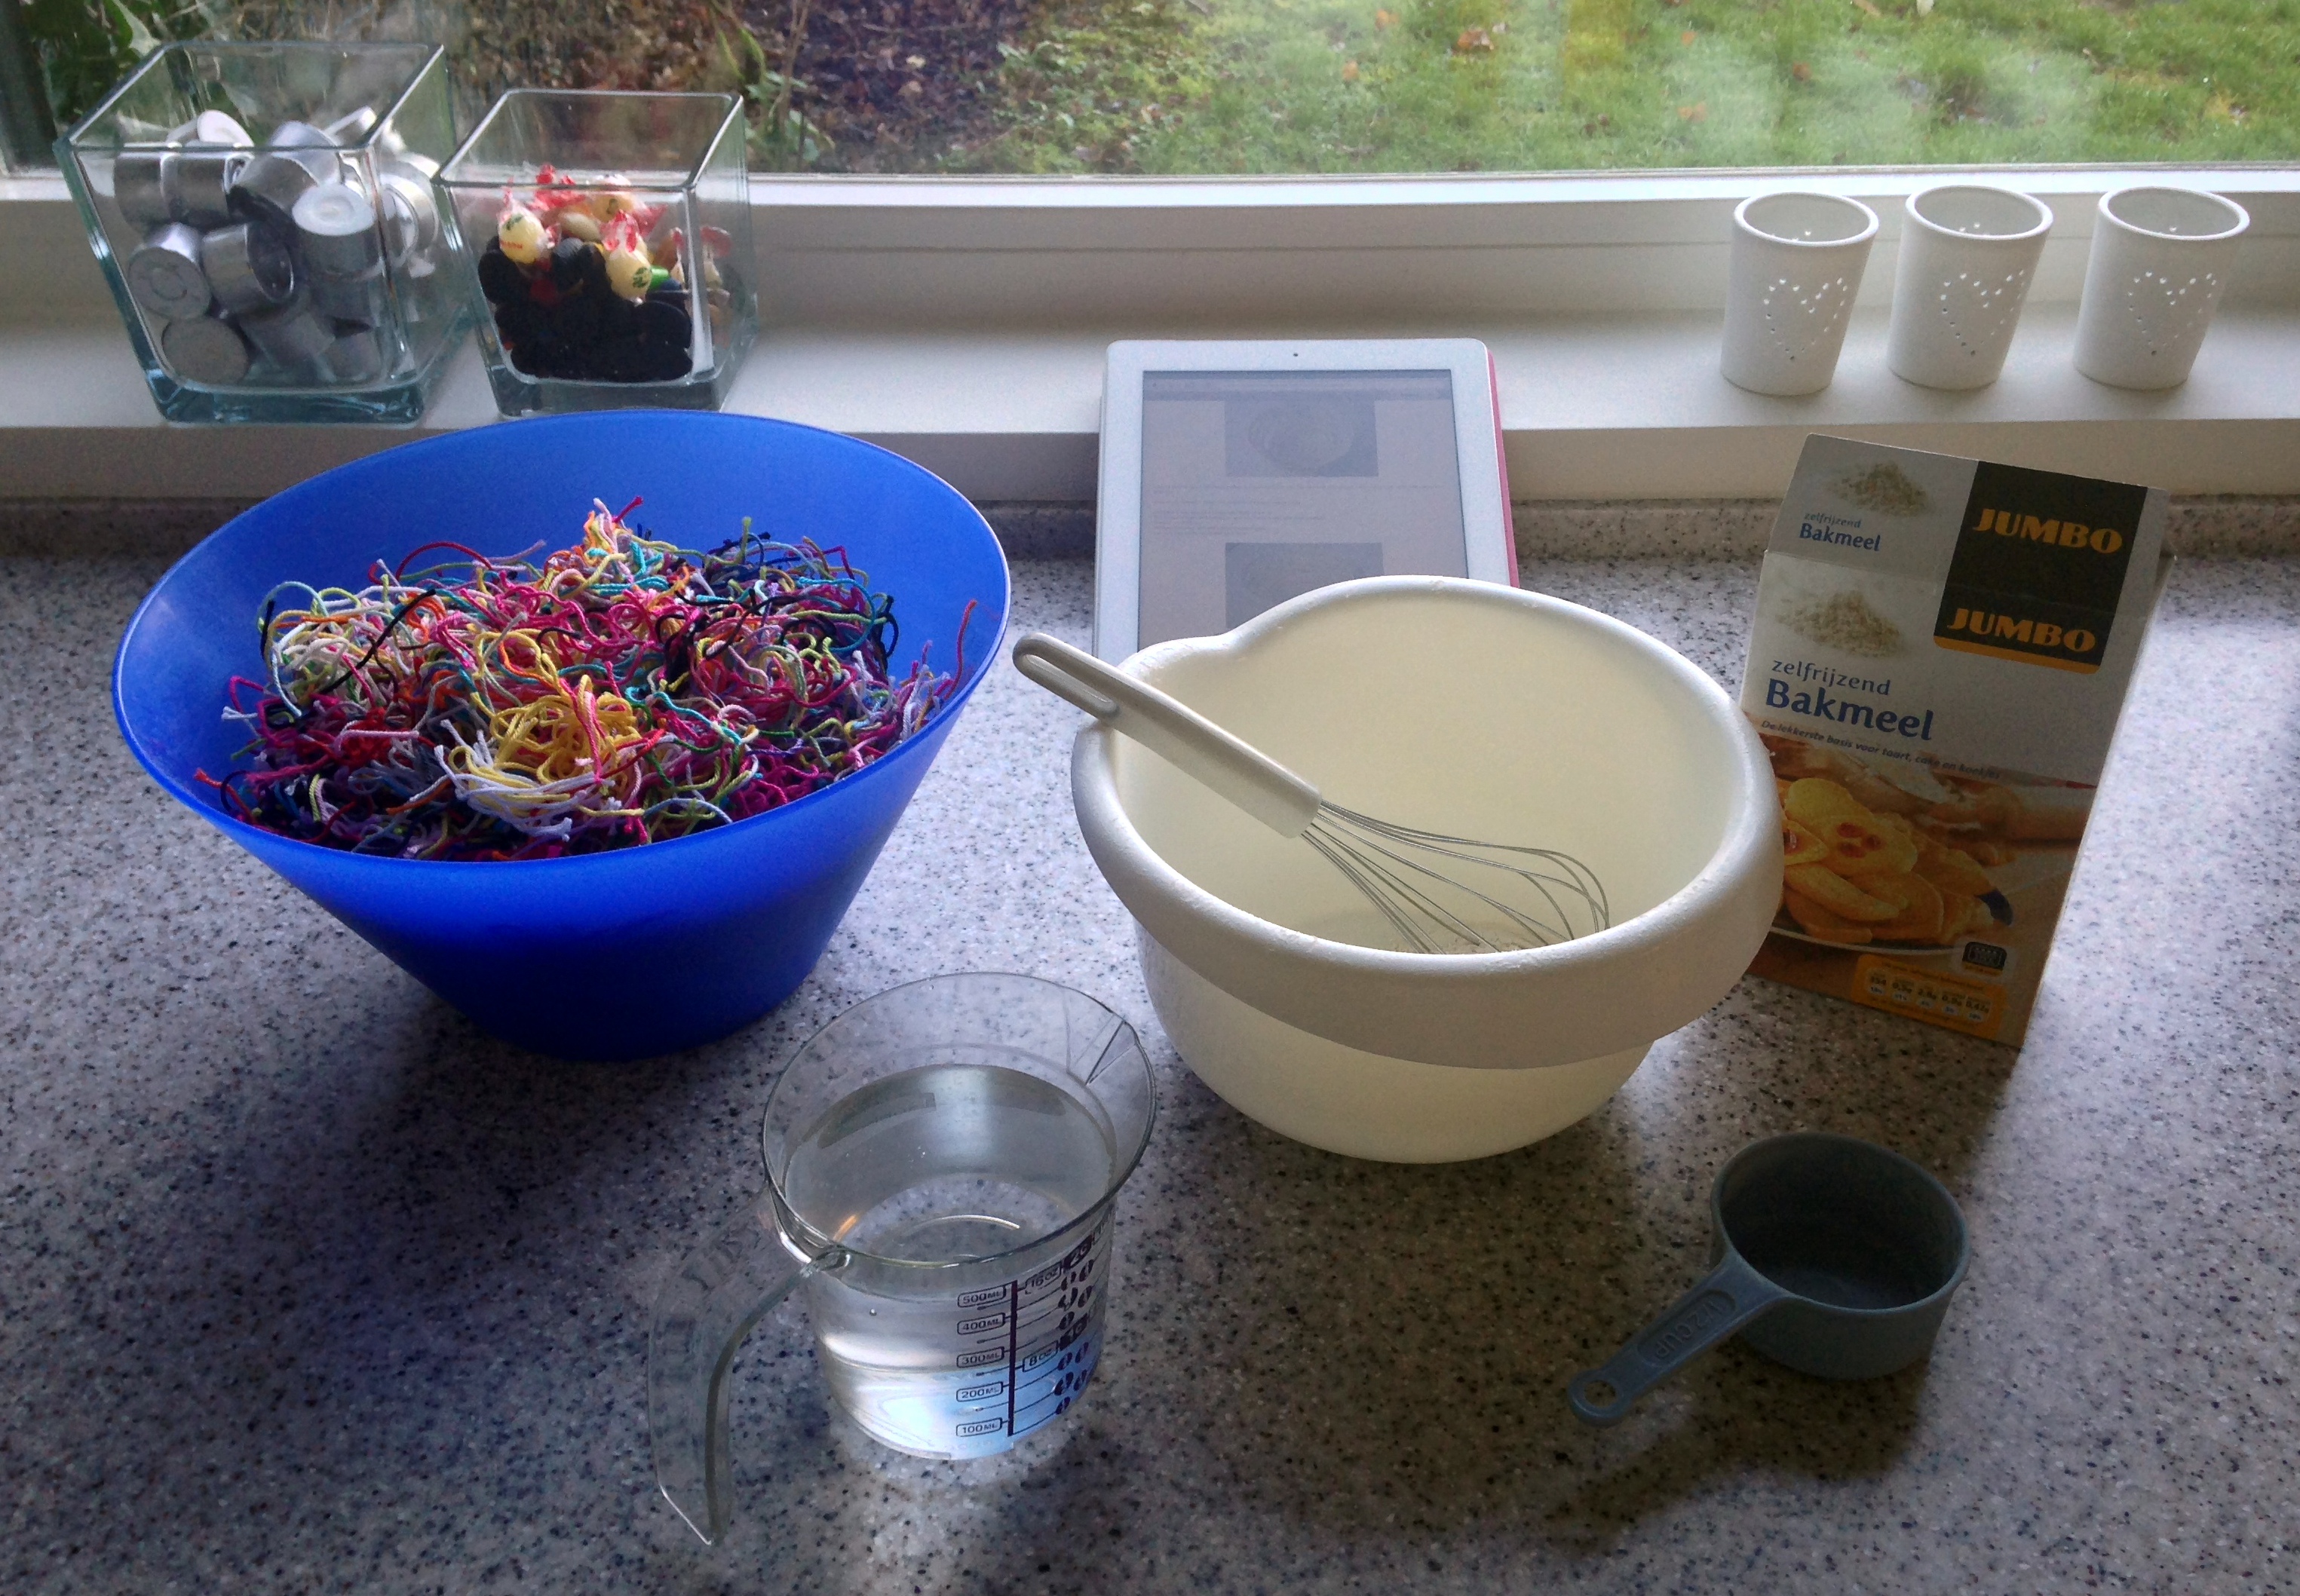
Then, following the “recipe“, I mixed and cooked the paste and let it cool …..
Prepared the bowl(s) by covering the outside(s) with plastic wrap, making sure to cover all of the bowl(s) ….. 
 Placed the bowl(s) on aluminum foil (so the paste could safely drip) …..
  After all these preparations, it was time to p l a y!
I picked up a handful of yarn ends, got another handful of the paste and mixed them in my hands, making sure every piece of yarn was soaked with the paste. Then little by little I covered my first bowl with the gooey yarn ends, feeling like some sort of sculptor, really.


After all this sculpting, the hardest part came …… finding the patience to let them dry! When I had finished my first (big) bowl, I very quickly got the feeling that I might have sculpted a bit to thick a layer onto the bowl. Since there were enough yarn ends ànd paste left, I prepared another, smaller bowl and made sure its layer of yarn-paste was considerably thinner. The first bowl is drying nicely, but is still not totally dry – after almost 48 hours! However, the second, smaller bowl with the thinner layer was completely dry this morning and so the exciting task of removing the yarn shell from the bowl started. Nervous moment, I can tell you …… But, the bowl came off nicely though, after which I carefully removed the plastic wrap from the inside of the bowl and T A D A H!!


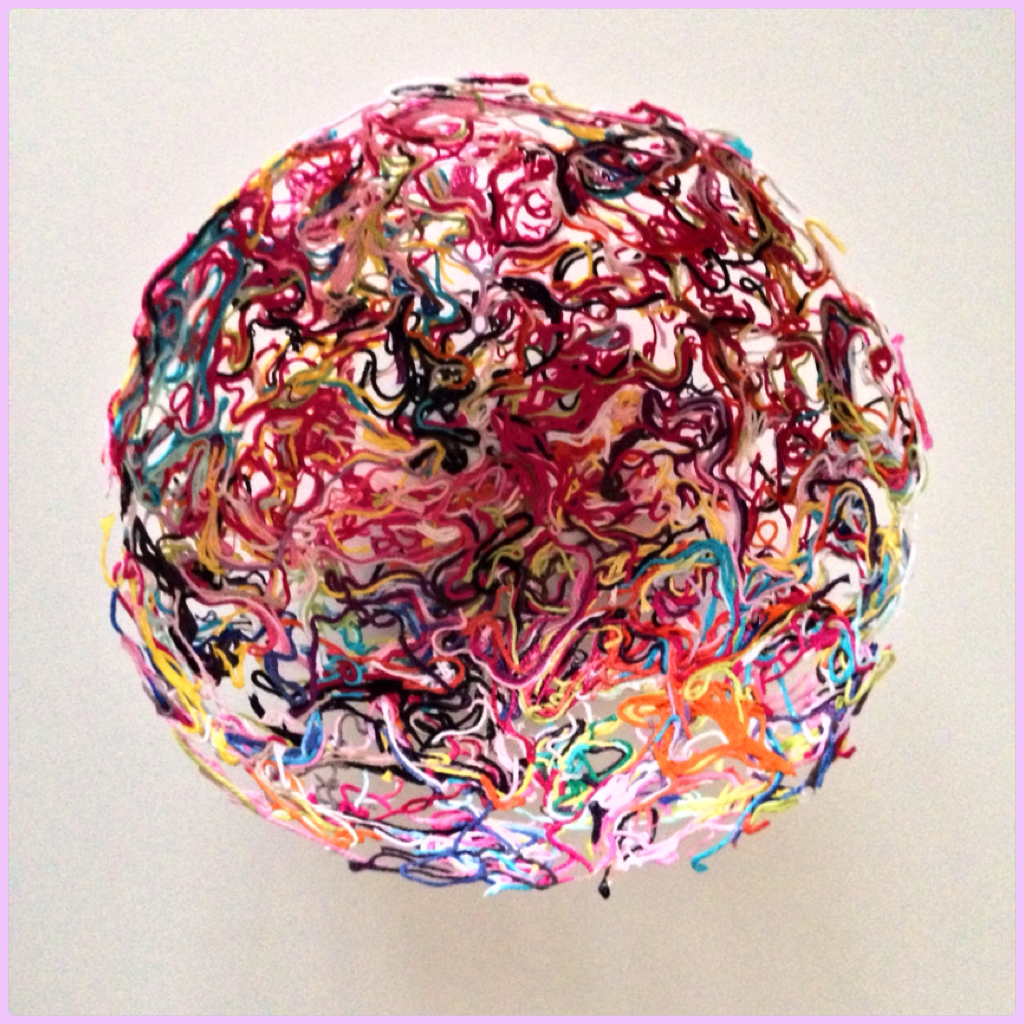

Isn’t it beAUtiful? I’m ridiculously happy with the way it turned out! So, go ahead, give it a try – you won’t regret it! It’s really easy (the drying part is the toughest, honestly) and I’m sure you lovely yarn loving people will get a kick out of this too. Oh ….. and please share photos of your yarn ends bowl, I would love to see all of your unique creations! Happy crafting!
Love, Marianne


Would decoupage work just as well and dry harder?
LikeLike
Sorry for not getting back to you any sooner, Cathrine…..
I honestly have not idea, it might …. maybe give it a try with just a small amount of yarn ends? Good luck! Marianne xx
LikeLike
Wow love this idea! Is it heavy? Was thinking would try this and leave a opening on side to resemble a yarn bowl to feed my yarn through while crocheting it.
LikeLiked by 1 person
Thank you so much, Linda! It’s pretty heavy, given the fact that I crocheted with 100% cotton yarn. Ooh, that sounds interesting! Marianne xx
LikeLike
Really nice I want to try it.
LikeLiked by 1 person
Thanks so much! Have fun creating! Marianne xx
LikeLike
I really love this idea, but I am curious, do you have any recommendations for a way to seal the bowl? Like using a varnish or resin to make sturdy and waterproof? If so, what are some products and brand names? I’m not familiar with that sort of thing, but I want ot make sure my bowls are nice and sturdy if I give them as gifts or sell them.
LikeLiked by 1 person
Thank you! To make the bowl sturdy, without using anything but the paste as per the “recipe” in the tutorial will be achieved by making the layer(s) of yarn ends drowned in the paste quite thick. It will take longer for the bowl to completely dry, but that’s ok. I’ve never varnished mine, but I’m sure you could us a spray-on varnish (like Krylon), or even a clear paint on one (like the ones used to varnish boats). Good luck! Marianne xx
LikeLike
I live in a very humid place, Florida USA. I think I will try this using Elmers Glue. I am afraid the cooked glue might not work here and might even get buggy. We have lots of those here. LOL
LikeLike
Florida sounds like a wonderful place to live to me …. apart from the bugs ;)! I haven’t used Elmers Glue, but I’m sure it will work fine (as would the paste, I think). Good luck, Peggy! Marianne xx
LikeLike
what tutorial? I don’t use pinterestst. Could you list the ingredients?
LikeLike
You don’t have to use Pinterest to be able to make these, Jonille – the how-to is right here on my blog under “Tutorials/DIY” (or you can just click this link: http://marrose-ccc.com/tutorials-2/yarn-ends-bowl/) Have fun! Marianne xx
LikeLike
Pingback: Ideensammlung – 10/2015 | Basteleien und Babylein
Pingback: Bericht vanuit de puinhopen - Jip by Jan
Looks great! :D
i just have one question, do you let the paste fully cool down before you use it?
i am just wondering becouse i wanna try it too, but i do not wanna make any mistakes
LikeLike
Thank you! Yes I do ….. otherwise it’s just too hot to handle …. Good luck! Marianne xx
LikeLike
Pingback: Ideensammlung – 09/2015 | Basteleien und Babylein
Love your bowls. Can’t wait to try them.
Elmers and PVA are much the same—white glue. If you water it down, about 70% glue to 30% water and it will dry clear.
LikeLike
Thanks so much! Have fun making yours! Marianne xx
LikeLike
How do you keep everything from sliding down the bowl? Is it really think? Would ELMERS work too?
LikeLike
The paste prevents the yarn ends from sliding down. I think “elmers” is a kind of glue? I’m not familiar with it, but you can give it a try with a few ends and a small area, maybe? Good luck! Marianne xx
LikeLike
Pingback: Yarn ends bowl | Delj7's Blog
Pingback: A Crafty Week – Day 1 | Rainbow Junkie
Brilliant idea Marianne…well done.What type of glue did you use?
LikeLiked by 1 person
Thank you very much Marion! I did not use glue as such, but a sort of paste that you can easily make yourself – the “recipe” is in the tutorial! Marianne xx
LikeLike
Wonderful idea! Can’t wait to try it with scrap yarn I have. Not enough to make anything but don’t want to throw it away.
LikeLiked by 1 person
Thank you! Have fun making your own yarn ends bowl!! Marianne xx
LikeLike
Hola Marianne!
Quedé fascinada con esta fabulosa idea que pronto pondré en práctica y tu verás los resultados!
Gracias por compartirla
PS: Como tu amo el crochet y también las pequeñas mascotas, tengo 2 gatos y una perrita.
te invito a visitar mi blog:
Desde Montevideo, Uruguay, Sudamérica
LikeLike
Hola Estela,
I don’t speak any Spanish, but I think I understand your lovely message here – thank you for your compliments! It seems we have a lot in common: a love for crochet, cats & dogs ;)! I’ll make sure to visit your blog! Marianne xx
LikeLike
Pingback: Gehaakte doily's, onderzetters én een winnares - Jip by Jan
Oh, I love this idea! What fun! Would PVA glue work as well?
LikeLiked by 1 person
Thanks! It’s so much fun to do – can highly recommend ;)! I’m not familiar with PVA Glue, but it would be well worth a try on just a tiny project, like a votive or so (http://marrose-ccc.com/2014/09/01/yarn-ends/)? Good luck and lots of fun! Marianne xx
LikeLike
This bowl is absolutely stunning…a work of art! Fantastic job!!!
LikeLiked by 1 person
Thank you so much, Janet, for your lovely compliments! Marianne xx
LikeLike
I cant wait to do this.
LikeLike
Good! It’s a lot of fun – enjoy, Nancy! Marianne xx
LikeLike
Pingback: 12 balls of yarn – 5 projects! | anonymousecrafts
Wow, what a great idea! I love all the colourful yarn ends that gather at the end of a big project, but never know what to do with them!
LikeLiked by 1 person
Thank you so much! Have fun making your own colorful and beautiful bowl! Marianne xx
LikeLiked by 1 person
Totally awesome!
LikeLiked by 1 person
Thank you so much, Eunice! Marianne xx
LikeLike
Such a great idea as you could make the bowls to b used for anything thinking of making one for the grand daughters to put all their hair clips in
LikeLiked by 1 person
Thanks, Karen! Oh, yes, that’s a great idea as well – have fun! Marianne xx
LikeLike
Does the paste keep the yarn ends pretty smooth once the bowl dries? Or is it still kinda fuzzy like dry yarn is? I was thinking of making a little jewelry bowl for my young daughter’s earrings. But if it’s going to snag up on them, it may not be the best project idea.
LikeLike
I’d say it’s an in between thing: not really fuzzy, but not exactly smooth either. You could maybe try polishing/varnishing the bowl? However, I keep some of my yarn in my yarn bowls and the yarn never gets caught in the bowls …. Definitely worth a try – love your idea of a little jewerlry bowl, good luck! Marianne xx
LikeLike
Great idea! I was thinking I would like to try making one of these, but had no idea what I’d use it for. Now I do, but for my daughter instead of granddaughter. Thank you 😊
LikeLiked by 1 person