
 How about one more fast diy for Mother’s Day?
Having made quite the collection of yarn ends objects already (more here), I thought it would be interesting to experiment a bit further with my trusted paste and colorful ends, and make something different.
I loved how my experiment turned out, hence my sharing this quick little project with you here.
First you make the paste that will glue all your yarn ends into the desired shape (tutorial in English here, in Dutch here). As soon as this is cooled off, get out your baking sheet, baking paper, cookie cutters and yarn ends.
Cutters that do not have too many corners and angles work best – the hearts were a good choice.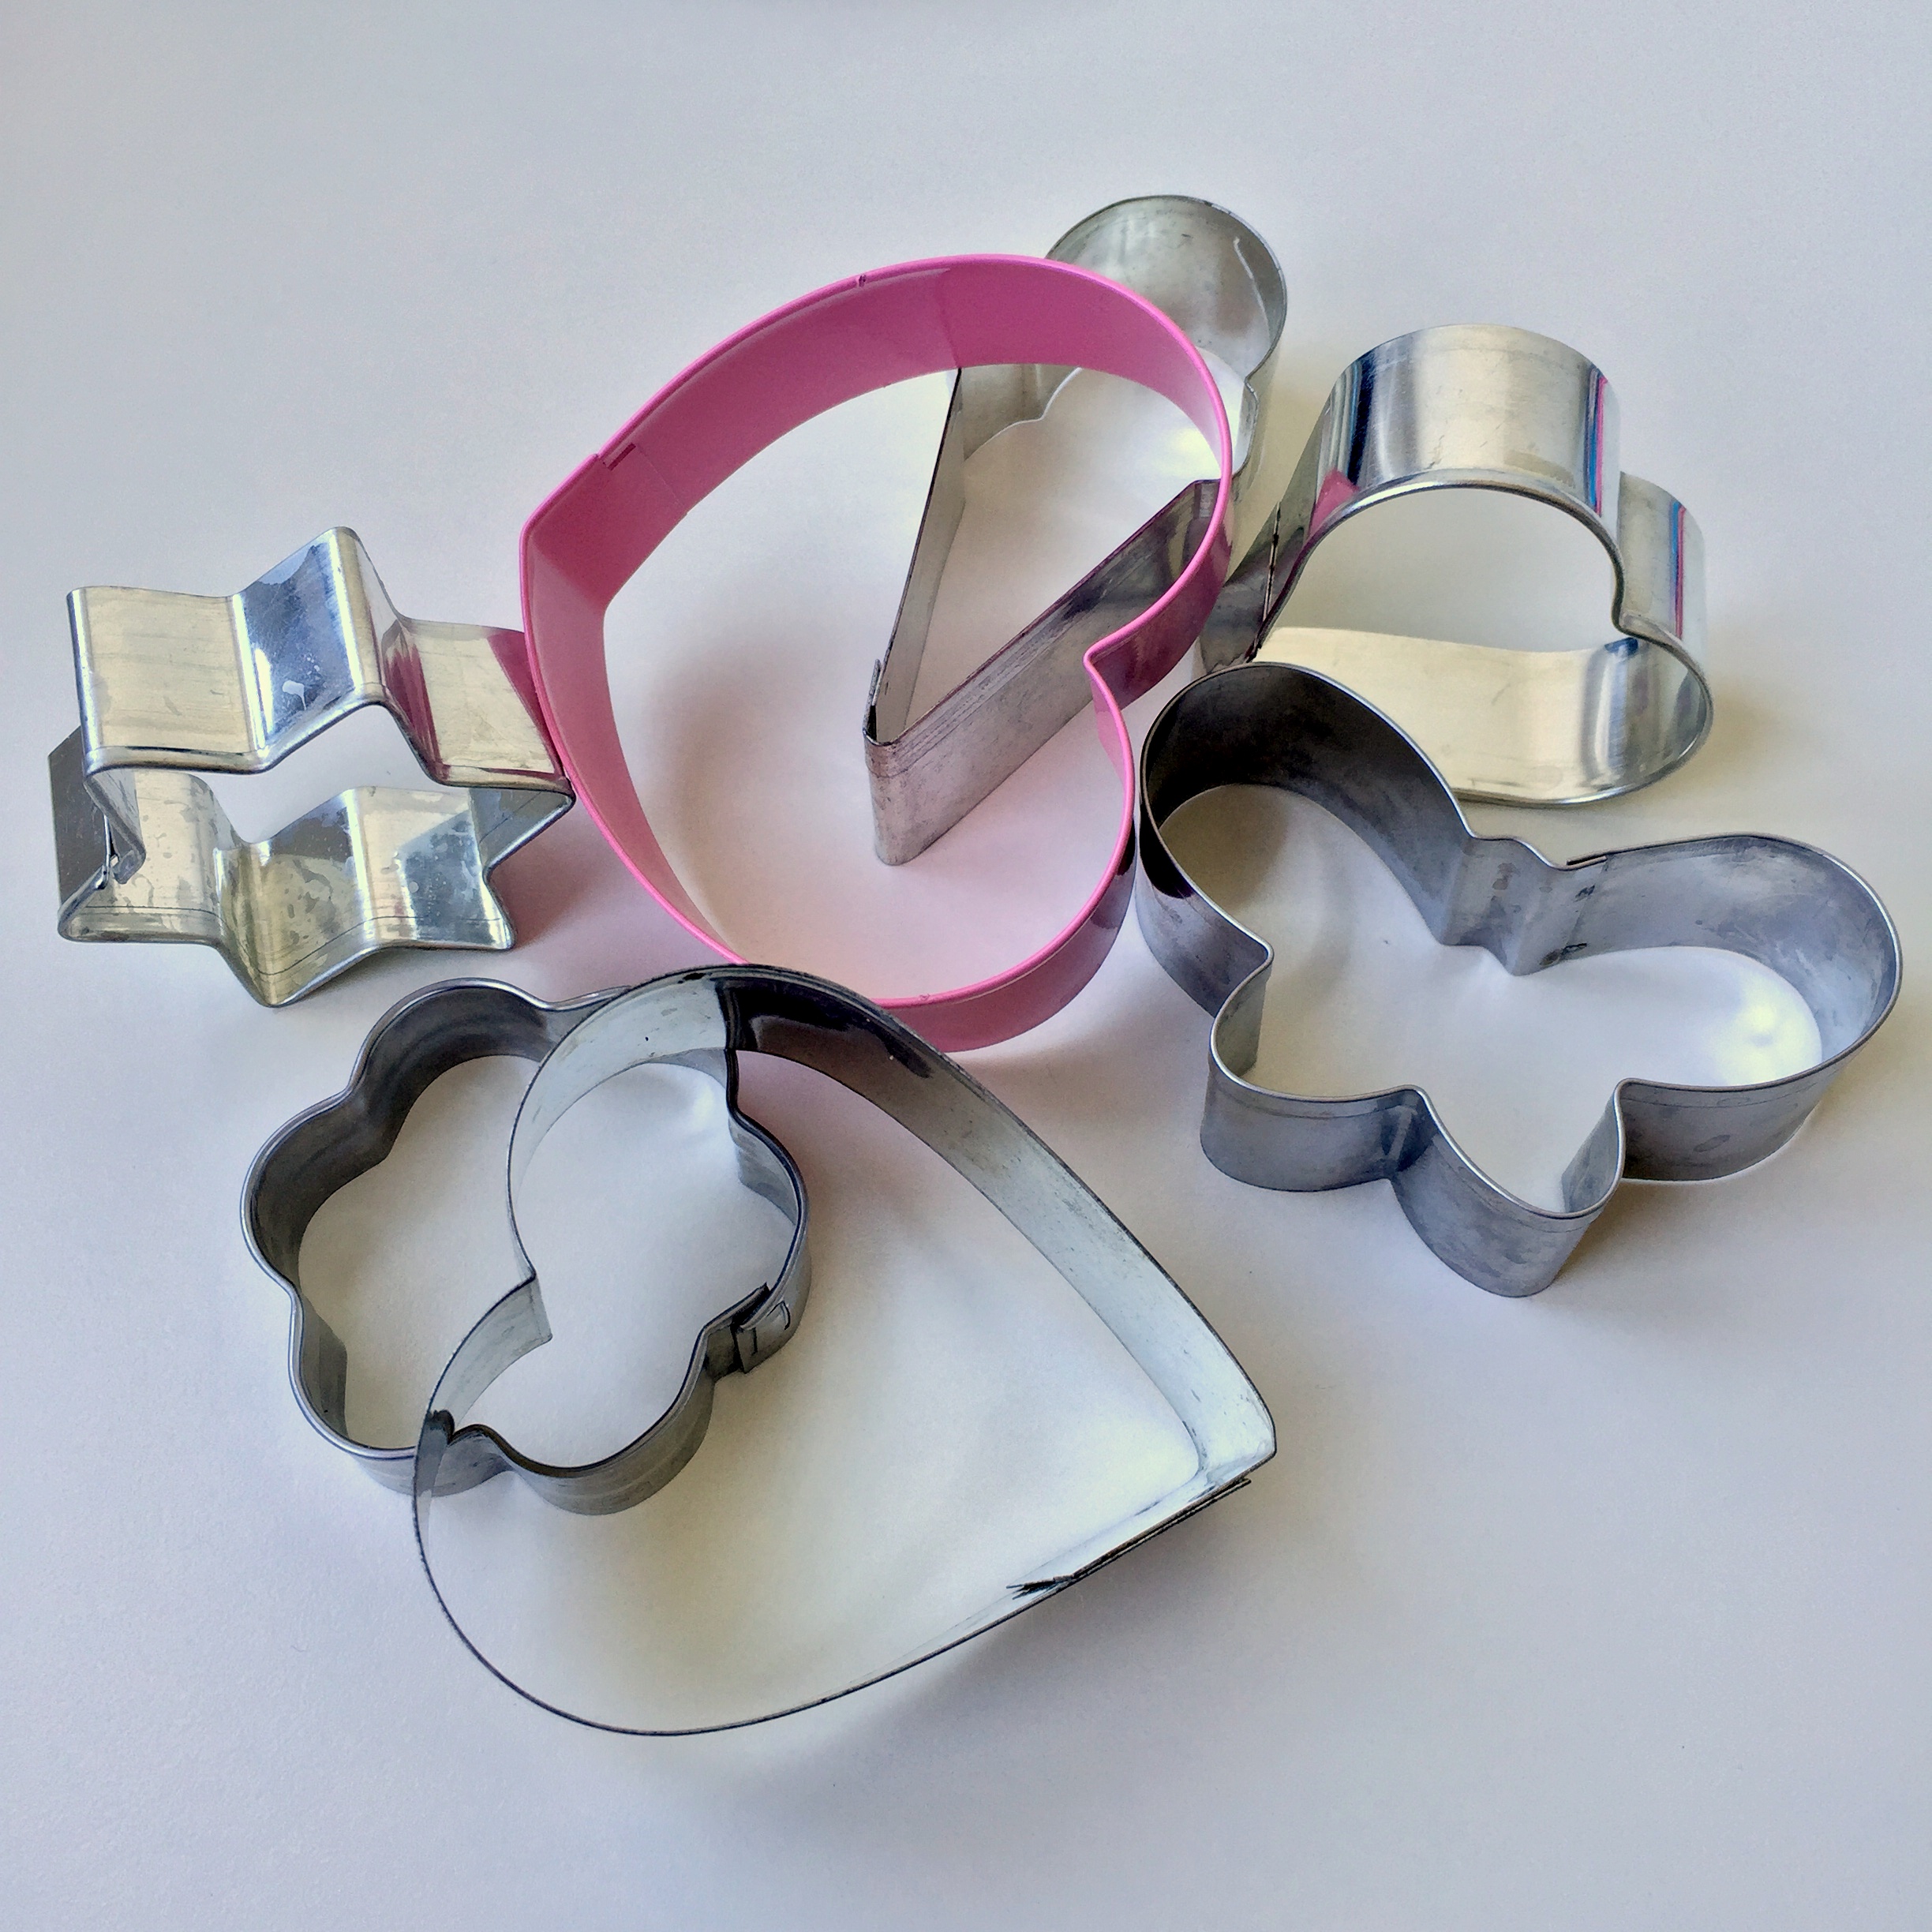

Make sure all yarn ends are “pasted” well, put a not too thick layer into the cookie cutter, verify that it’s totally filled. Carefully remove the cookie cutter – if necessary, this is the time to make little adjustments to your brooch-to-be. Also, if you want to make a necklace, you’ll want to punch a little hole into your yarn ends heart now. Let everything dry overnight/24 hrs. Remove carefully from the baking paper, glue the brooch pin back to the back of your yarn ends brooch (I used my glue gun).
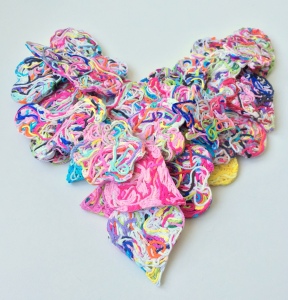

 I’ve varnished my first batch of brooches, using an acrylic varnish (the kind painters use). It worked really well, but it took days before the distinct varnish-smell was gone….. So, for my second batch I simply used nail polish, and that work perfect too – and way less of a nasty smell;)
I even found old&inexpensive nail polish that had some glitter: did the job as well!
 Happy crafting!
Love,
Marianne xx
PS: a nice way to gift your lovely brooches: my other Mother’s Day diy, the treasure boxes :)


what did you use as a glue to hold all of this together?
LikeLike
Hi Donna,
You’ll find a link to the homemade paste I used in the “Yarn Ends”-tutorial (https://marrose-ccc.com/tutorials-2/yarn-ends-bowl/). Have fun making! Marianne xx
LikeLike
Those are great!
LikeLiked by 1 person
Thanks so very much! Glad you like them! Marianne xx
LikeLike